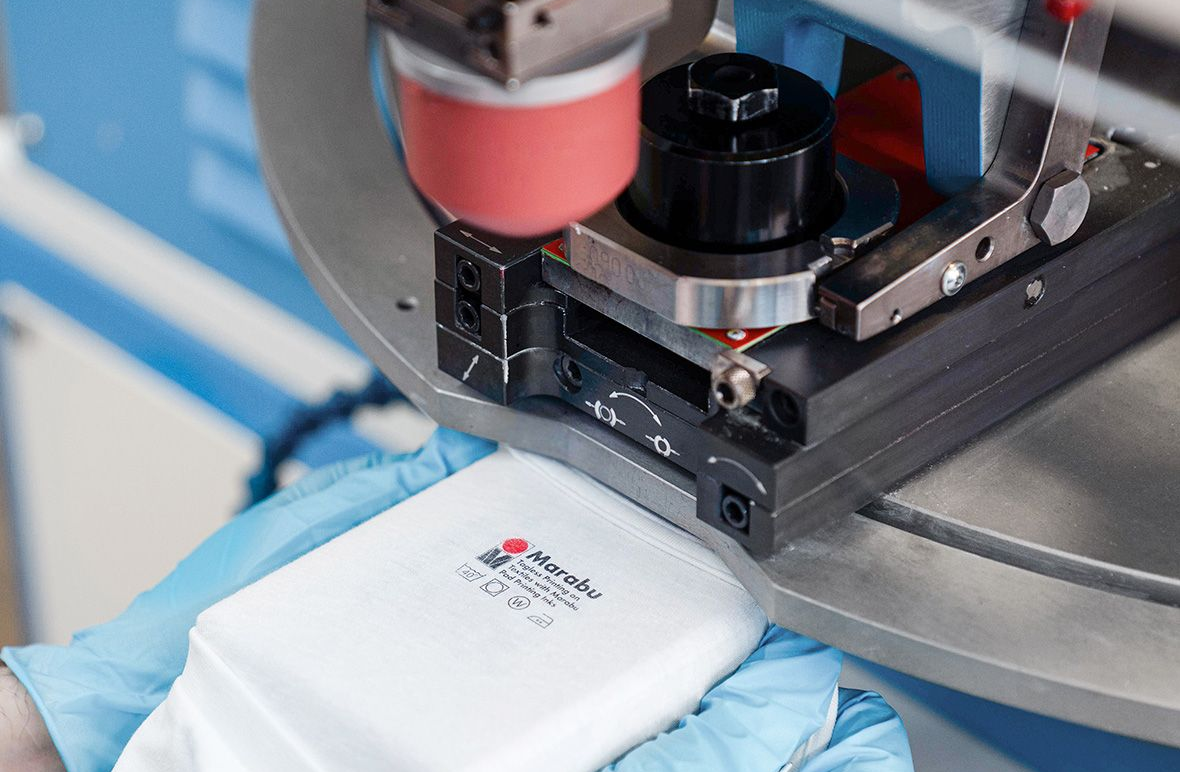
Transforming blank walls into captivating visual stories is more than decoration. It’s a design strategy that brings personality, branding, and atmosphere to life. Thanks to advancements in print technology and creative design, wall graphics have become a go-to solution for elevating interiors across residential, commercial, and hospitality spaces.
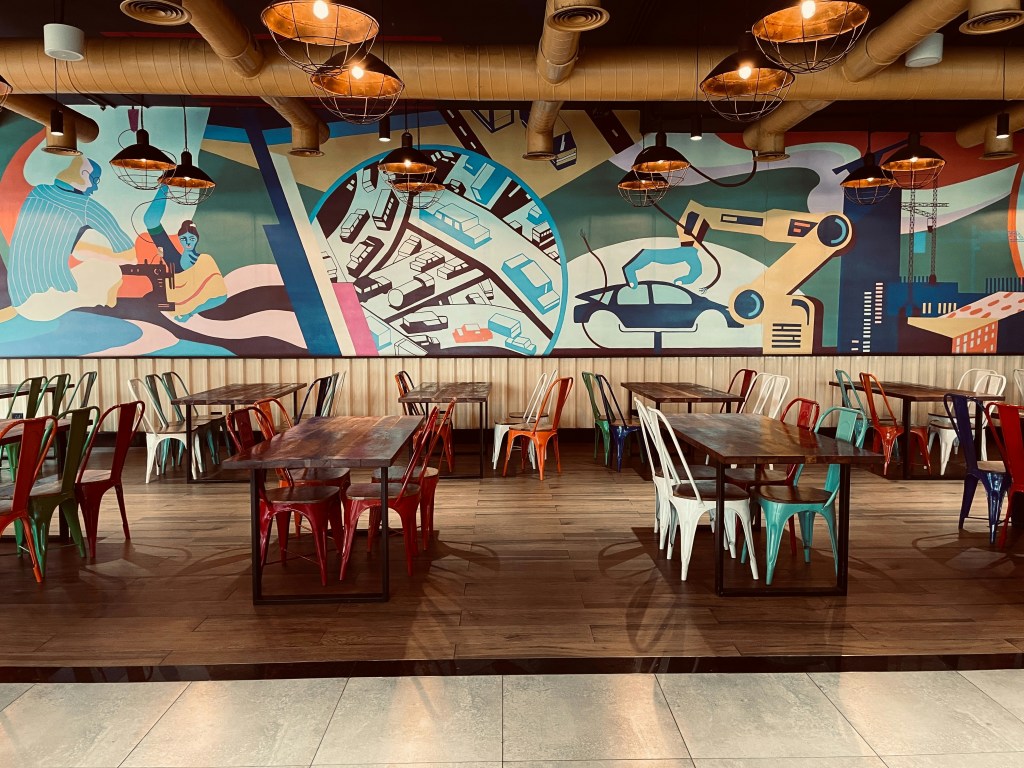
Whether it’s a bold logo anchoring a brand identity, a mural that evokes culinary culture in a restaurant, or vibrant accents that energize a living room, wall graphics offer a powerful way to shape environments and leave lasting impressions.
But flawless installation doesn’t happen by accident. For printing professionals and installers, success hinges on understanding the substrate, using the right tools, and choosing protective finishes that ensure durability. Here’s your expert guide to getting it right.

Know Your Substrate: Surface Matters
Before you even unroll your wall graphic, take a moment to assess the surface it’s going on. The substrate plays a critical role in adhesion, durability, and overall visual impact. From smooth drywall to reflective metal, each surface requires a tailored approach.
Here’s a quick guide to common substrates and where they’re typically found:
- Drywall & Plasterboard: Standard in residential spaces like bedrooms, hallways, and living rooms.
- Wood Paneling: Adds warmth and rustic charm, often seen in boutique hotels, lodges, and resort interiors.
- Glass Walls: A sleek, modern choice for offices, conference rooms, and high-end retail environments.
- Concrete: Found in industrial-style spaces, parking structures, and some commercial interiors—requires strong adhesives and surface prep.
- Metal: Common in elevators, architectural features, and industrial environments; smooth but may require specialized adhesives for long-term hold.
Understanding your substrate helps you choose the right adhesive, prep method, and tools—reducing the risk of bubbling, peeling, or premature wear and tear.
Use the Right Tools for Seamless Application
Installing wall graphics requires several tools as well as someone who is knowledgeable about the particular substrate involved. Installing a digitally printed wallpaper on drywall requires a different set of tools and processes than applying a wall decal onto glass panes.
Here’s your go-to toolkit:
- Squeegee: Squeegees are a type of tool for smoothing out and applying even pressure to the graphics during installation. It helps remove air bubbles and ensures proper adhesion.
- Heat Gun: Heat guns are often used to soften the adhesive so that it molds to the shape of the wall graphic better.
- Cutting Tools: Utility cutting tools are sometimes used to trim the wall art after installation for clean edges.
- Cleaning Supplies: Cleaning supplies, such as rubbing alcohol, are used to remove dirt, grease, and/or other contaminants from the substrate before installation.
- Application Fluid/Spray: Application fluid/spray is sometimes used to smooth out the wall graphics so there are no trapped air bubbles.
Each substrate may require a slightly different setup, so tailor your tools accordingly.

Laminated Coatings for Extra Protection
Wall graphics in high-traffic areas such as airports, restaurants, and theaters are more prone to wear and tear than those used for personal use.
Additionally, sunlight often exposes wall murals positioned near windows to intense UV rays, which can gradually degrade the design. The difference between vibrant artwork that lasts for years and one that fades prematurely often comes down to a single, simple step: applying a protective laminated coating.
This coating takes only minutes to apply, yet it offers long-term benefits. Your mural will be shielded from UV damage, preserving color integrity, and extending its lifespan dramatically.
- UV protection: Exposure to sunlight and UV radiation can cause colors to fade and graphics to deteriorate over time. Laminated coatings provide UV protection so those colors remain vibrant for years to come.
- Chemical resistance: Laminated coatings offer chemical resistance so that they are unaffected by cleaning agents.
- Abrasion resistance: Liquid laminates help shield against scratches and scuffs in busy environments.
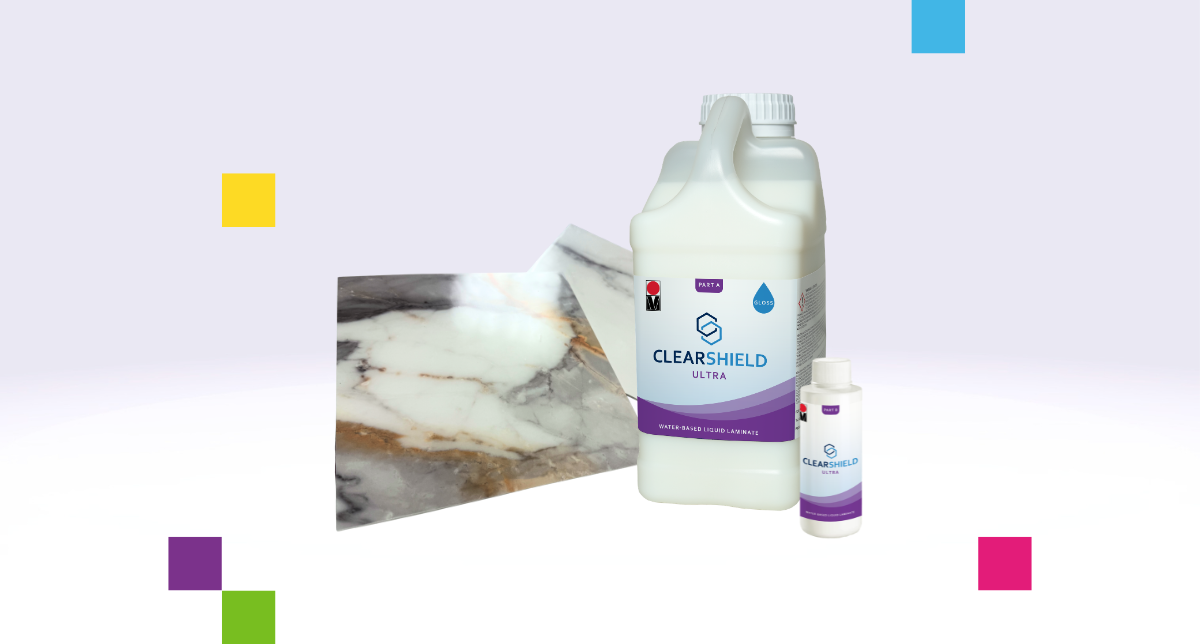
At Marabu, we offer liquid laminated coatings that can be used on wall graphics, billboards, fine art, and more. They are designed to protect against UV rays, chemicals, and abrasions.
Type 2 Certification for Wall Graphics
Type 2 certification is an important factor when it comes to wall graphics — especially in public and commercial spaces such as hospitals and restaurants. That’s because public settings usually have to abide by specific fire regulations and building codes.
Wall graphics that are Type 2 certified have built-in fire resistance and have gone through testing to show they do not exacerbate the spread of a fire nor release highly toxic chemicals. By using Type 2 certified wall graphics, businesses can meet the requirements that are set forth by city officials when it comes to fire safety.
Having Type 2 certification is so essential for commercial spaces that business owners are likely to decline certain wall graphics based on this criteria alone — no matter how beautiful they are. Our ClearShield® Professional Wall Armor is specifically designed for digitally printed wall coverings, and it has the added benefit of bringing a Type 2 certified solution to your wall graphic.
Installing digitally printed wall designs have the power to communicate messages, reflect branding, inspire creativity, and create immersive experiences. They provide an incredible transformation to any space, whether it be a home, office, or commercial establishment.
The process of installing wall graphics requires careful planning, knowledge of the substrate, and the right tools. Type 2 certification and laminated coatings are a game changer in making sure your wall graphics have the approval for installation and last many years. Have any more questions regarding printing tips? Contact your printing pros here.