Have you ever tried writing on glass with a marker, only to watch the ink slide right off? That’s because glass is smooth and non-porous, meaning the ink has nothing to grip onto. Paint pens do a better job, laying down wet strokes that dry and adhere to the surface. But even they aren’t truly permanent—after enough washes or exposure to the elements, the paint begins to wear away. In this blog, we will go over how we print on glass and make it stick!
Early Attempts to Make Ink Stick
Before modern advancements, printing on glass required ceramic inks fired at high temperatures. The process involved heating the glass until softened in an oven, just below its melting point. The ceramic pigments were then fused to the surface of the glass and permanently bonded to the material.
Unfortunately, this type of inorganic ink came with a major downside: they typically contained toxic heavy metals, making them hazardous to humans. Imagine sipping from a glass decorated with hazardous materials—not ideal. In fact, drinkware printed this way has been recalled in the past due to safety concerns.
Enter UV Curable Ink
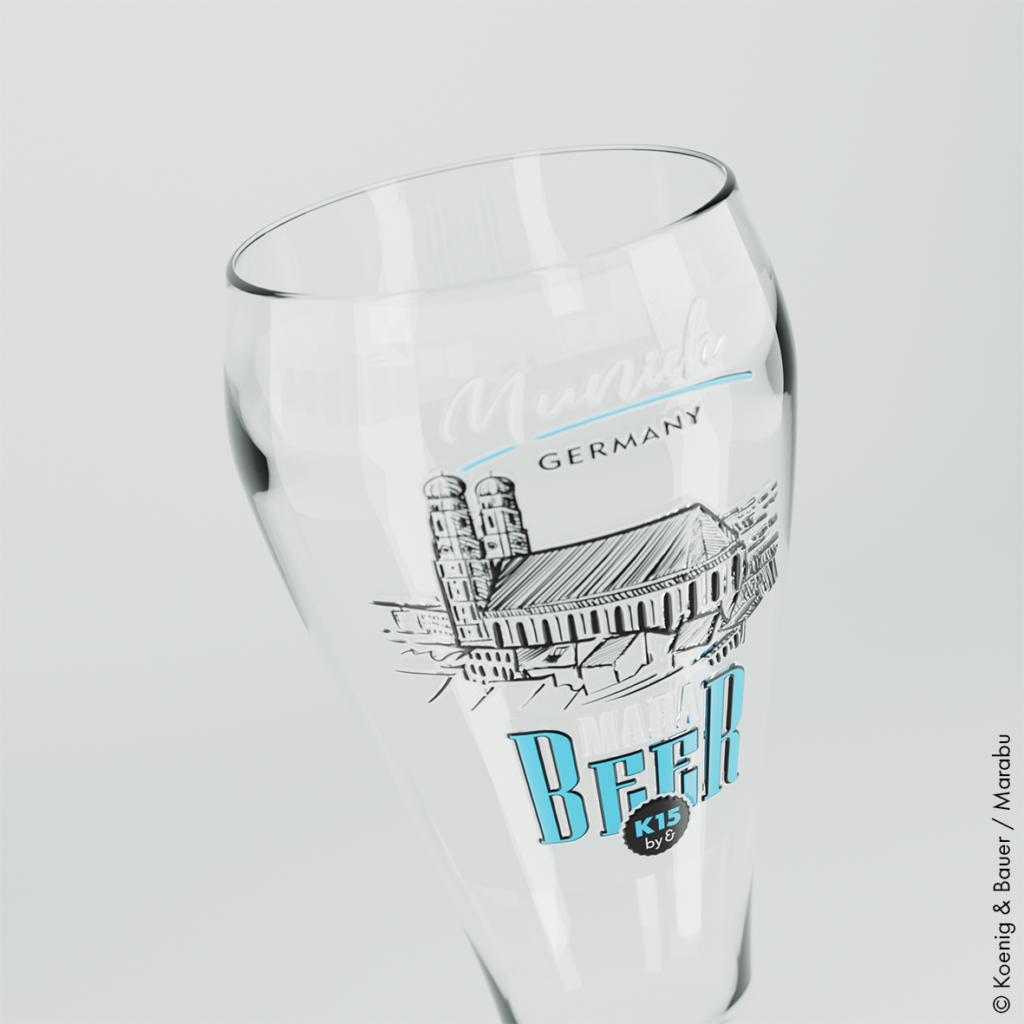
The solution? UV curable inks. Thanks to cutting-edge science, these inks use ultraviolet light to trigger a chemical reaction in organic UV pigments, bonding them to the glass surface. The durability of this bond can be further improved through pre-treatment techniques and careful selection of monomers—tiny molecules that link together to form strong compounds. When exposed to UV light, the monomer in the ink connects with the molecules on the glass, creating a lasting attachment. Within 12 to 24 hours, the ink fully cures, though using an oven can accelerate the process.
The Monomer Trade-Off
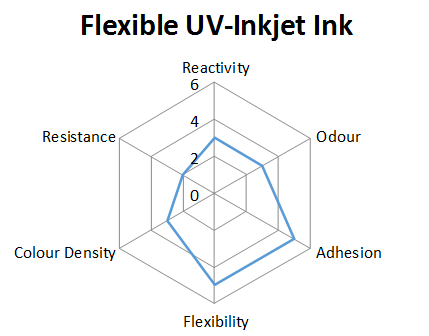
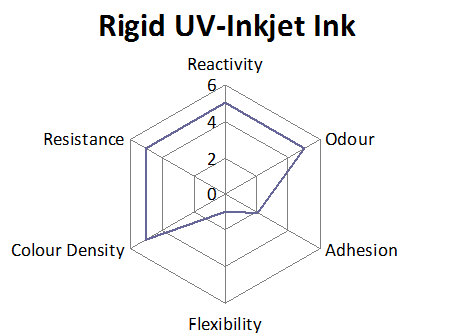
Choosing the right monomer mixture is crucial. Printers usually face a trade-off:
- Stronger adhesion: Creates the most durable bond, but tends to wear down more easily.
- Greater resistance: Protects against wear and tear, but sacrifices adhesion.
Balancing these factors is key to achieving the best results. While an ideal ink would offer both maximum adhesion and resistance, these properties typically exist on opposite ends of the spectrum, as you can see by the images below. Still, advanced digital printing options allow for impressive durability and customization based on the intended application.
Does Glass Have to Be Primed or Pre-treated?
It depends. Pre-treatment enhances durability, especially for screen-printed inks. If using digital printing, a jettable primer will deliver top-notch performance and can be applied only where needed. Additionally, using Pyrosil—a specialized flame technology—will help improve ink adhereance. This method removes impurities from the surface of the glass and applies a silica coating that resembles microscopic branches.
Think of pottery: when bonding two pieces of clay, artists often score the surfaces, roughing them up so they stick together better. Pyrosil does something similar—it alters the surface of the glass, increasing tension and making the ink grip more securely.
If the glass will be used in extreme environments associated with high heat or humidity (like drinking glasses that will go in a dishwasher), then using an adhesion promoter, or glass primer, is best. This invisible layer mechanically bonds to the glass, providing an optimal surface for digital ink to adhere.
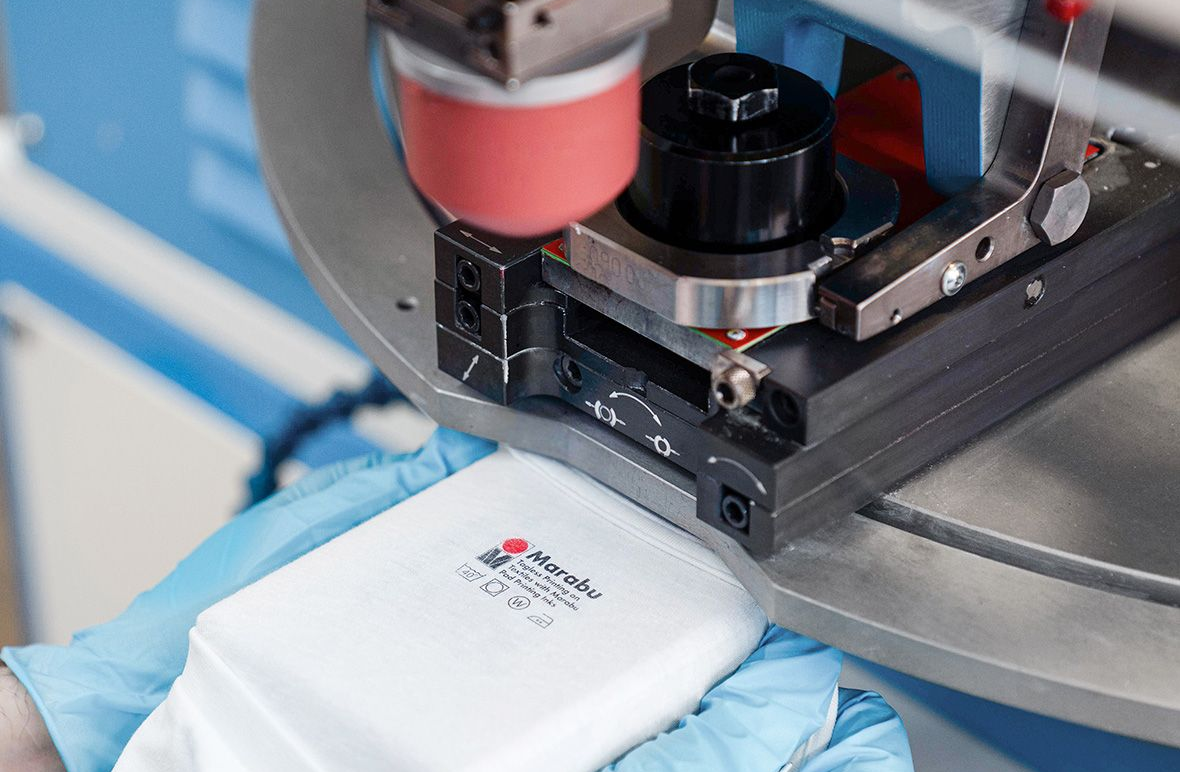
Watch the video below for our process of pre-treatment for screen printing on glass.
Conclusion
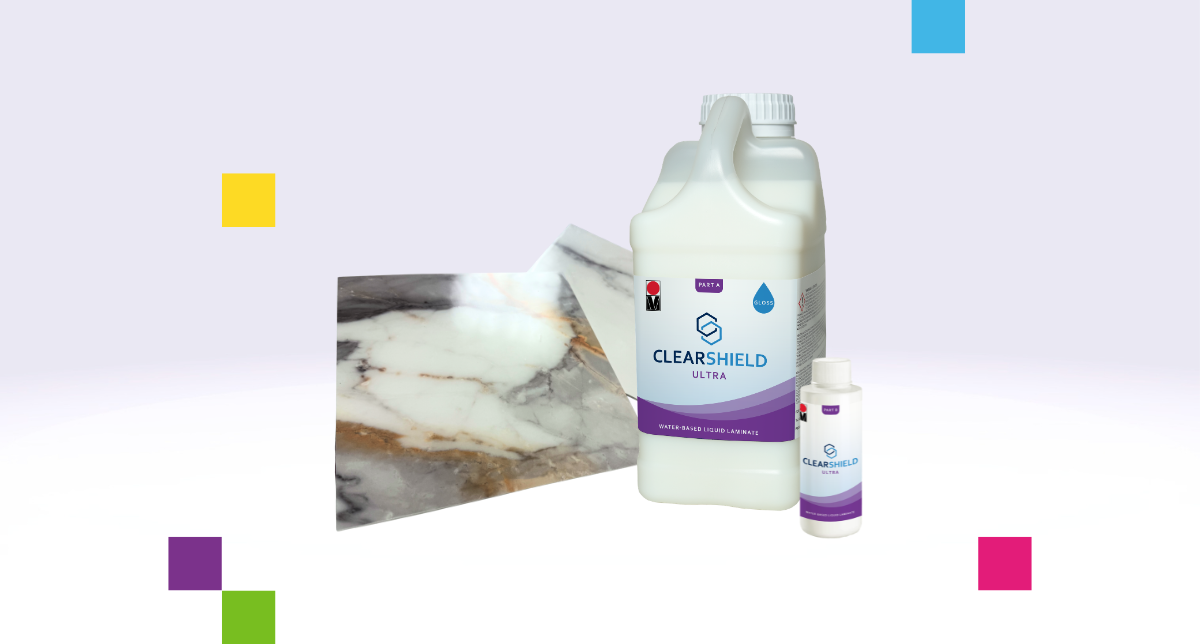
Beyond glass pre-treatments, Pyrosil, and high-performance UV curable inks, Marabu offers a clear overprint varnish, digitally applied only to the imaged areas for enhanced protection. Unlike full-surface coatings, this targeted approach preserves the integrity of the design while extending its lifespan.
Interested in learning more? Find a distribution partner HERE or reach out to us for details!